The ALU arithmetic card is now complete! The final card looks like this:
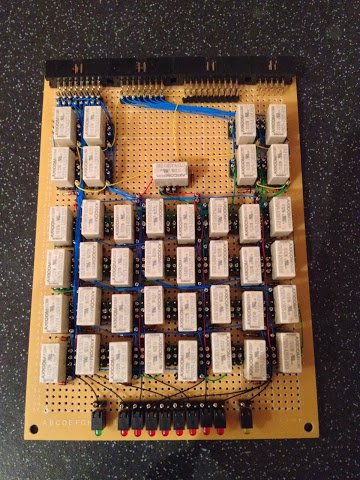
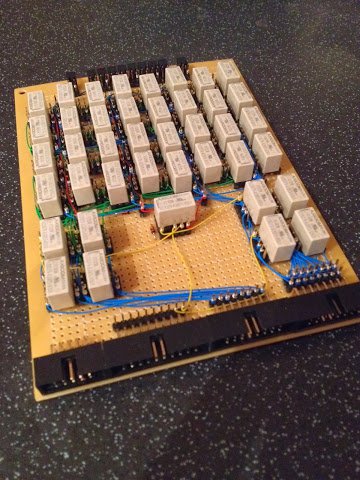
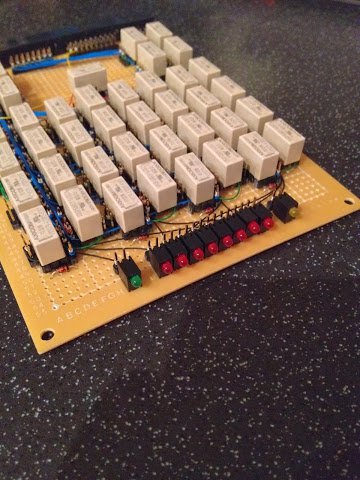
As I did for the ALU logic card before I’ve put the following YouTube video together which gives a walkthrough of the arithmetic card in operation … and as before this one also has a narrative track delivered by my own fair gob.
So, that’s two out of the three ALU cards done with just the control card left to do. Well, I say that … after the ALU is completed there’s all those registers let alone all the control and timing circuitry coming up … I’ll try not to think too much about the impending work for now.
The control card should prove a bit quicker to put together as there’s less relays, wiring and soldering to contend with. Oo - and for my next post I’ll share what I’ve been up to in SketchUp for the enclosure design.