I’m taking a break … just a short one.
In between all the bouts of wire wrapping for the ALU arithmetic card I’m starting to think about enclosure options for the computer when it’s finally (finally!) finished. I’ve been trawling the internet for inspiration and I’m starting to get a feel for the sort of materials and finish I want and I’ve even been getting some prototype laser etching done (more on this in a later post). One thing I’m finding as I’m going along though is that I’m trying to picture things in my head and there’s a lot of guesswork going on. What I need is to employ some CAD so I can make sure things fit together before really fitting them together.
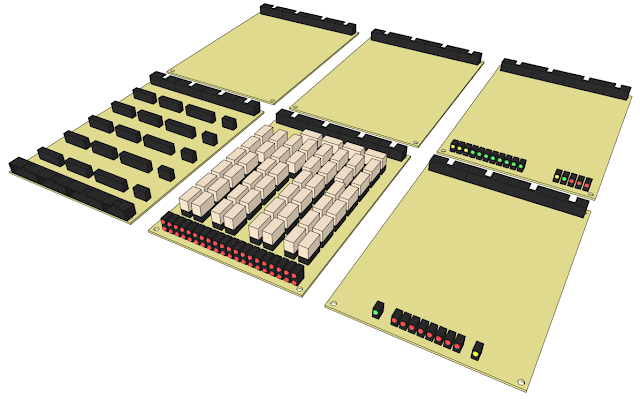
So, cutting to the chase, after a couple of hours getting up to speed with the very usable SketchUp I’ve created 3D models of all the cards I’ve constructed so far and it looks like this:

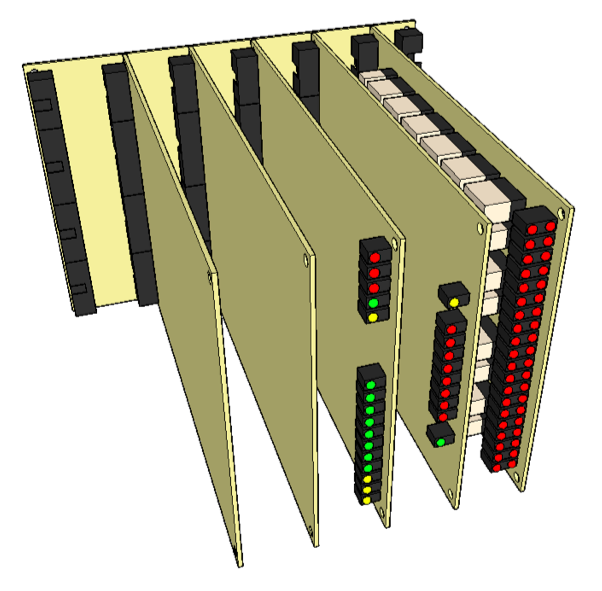
… and with all the boards (virtually) plugged together it looks like this …

This probably doesn’t look all that fancy for those gamers out there who have become accustomed to slightly more complicated 3D scenes but I’m really pleased with it. With this model I can plan the enclosure in SketchUp and get everything fitting nicely before getting the credit card out and committing for the real thing.
I’ll pop up a few posts about the enclosure design in the next few months interspersed with the usual ongoing ALU construction. It’s fair to say I’m quite excited about the enclosure (easily pleased) but I’ll endeavour to keep the rest of the construction going.
Finally, in the spirit of sharing, the SketchUp file for the above can be found here.