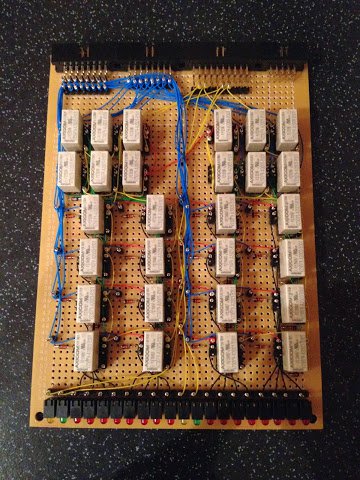
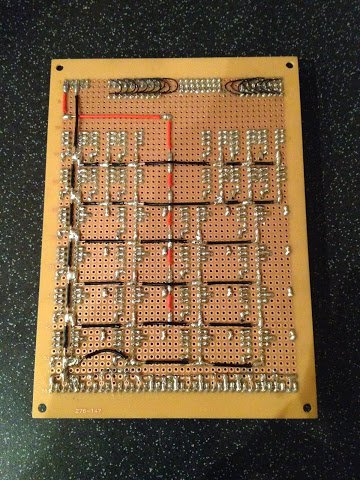
The B/C Register card is now complete and looks like this:


As usual I’ve put a video together which demonstrates this card in operation … firstly on its own but then together with all the other cards constructed so far. Hopefully these videos are ‘adding value’ and are worthwhile (they really do take ages to put together … this one took about 5 hours effort in total for 20 mins of video). Please do leave any comments, good or bad, either here on the blog or on YouTube against the video or feel free to ask any questions about the computer as although I know this is a pretty niche subject I can’t help feeling I’m talking to myself ;)
There’s just one more card to go now before the first card bay is full … the A/D register card. This will effectively be a duplicate of this card but without the B/C ALU feed lines and so should be a little quicker to construct. Once complete it should be possible to do some running calculations with the ALU by hand and this will take the computer to having an ALU and four general purpose registers.
Once the A/D register is complete I’ll take a small diversion again to construct the first part of the upper enclosure … particularly I’m interested in constructing the switch panel and associated control board so that it’s much easier to place values on the data bus (rather than using the fiddly DIP switches on the bread board). I’m also going to start thinking about constructing the display for the computer. As always I’ll share my thoughts, designs and eventual construction here on this blog.